
The headstand is often called the king of yoga poses or in Sanskrit, Sirsasana. Why? It’s because getting into this pose can bring a multitude of benefits. That said, it’s an advanced pose and one that requires patience.
At first glance it can be quite intimidating. After all, when was the last time you did a headstand? Probably not since childhood! For some people, there’s the fear of going upside, or of getting hurt. Others don’t feel their body is flexible enough, that they’re too weak or not confident enough to try. Whatever the reason, breaking this pose down into steps makes it easier and more achievable.
Benefits of a Headstand
The first benefit most people notice is how invigorating and energising this pose feels. Blood flow is inverted towards the brain and pressure on the heart is alleviated, so it doesn’t have to work as hard to get blood to the upper body.
Not only that, but this pose builds strength and stamina in the neck, arms, shoulders, upper back and core muscles as well as improving posture and balance. Going into this pose also activates just about every system in the body. From the brain, nervous system, digestive system to the blood circulation system, lymphatic system and endocrine glands. It’s also thought that the action of going upside down can aid sinusitis.
From a mental health perspective, it’s also believed that the headstand has a calming effect on the brain, reduces stress and helps with mental fatigue and insomnia. It also provides an instant mood reset and after doing this pose, you feel fresh and renewed.
Is the Headstand for Everyone?
With regular practise, most people can master this pose within 2 weeks. However, there are some contraindications so check if its suitable first.
Don’t try this pose if you’ve currently got a neck or back injury. If you’ve had one of any severity in the past, you may also want to leave this out altogether or take advice from your doctor or yoga teacher. Headstand, in some cases, can make injuries worse.
It’s also not recommended if you have hypertension or glaucoma, which can be aggravated by the headstand. Also be aware that if you suffer arthritis in your back, neck, hands, or wrists, a headstand can worsen your symptoms.
How to Master the Headstand
There’s a lot of conjecture about whether or not to use a wall for support. It’s generally best to avoid using a wall because you don’t use the correct muscles to support your weight and are tempted to stay in the pose longer than your body can naturally handle. This is when injuries can occur.
Normally, within a yoga class, the instructor will guide you into the pose and offer any support if needed. If you’re doing this at home, a spongy grass surface or sand offers a soft landing to roll into if you fall from a headstand, which can happen when you first begin.
It’s best to practise the headstand after a proper warm-up and the final word of advice is don’t forget to breathe!
Headstand Practises
We’d recommend incorporating some of these poses into your regular yoga practise over the next 2 weeks as they’ll prepare your body for the headstand. They’re also a great warm-up routine prior to doing a headstand. Only try the headstand when you feel ready, able and confident to do so.
Dolphin Pose
Benefits: Strengthens arms and core, opens up shoulders ready for headstand.
How: Start on hands and knees, forearms should be shoulder-width apart. Keep elbows in place, clasp hands and lift hips up high. Lower head and remain in pose for at least 5 deep breaths.
Headstand Push
Benefits: Strengthens arms and core, opens up shoulders ready for headstand.
How: Keep elbows shoulder-width apart. Place hands together in a basket shape, resting them on the ground, little fingers should be touching the ground. Place your head on the ground and push gently into your hands. Tuck toes in, lift hips up. Hold the pose for 5 deep breaths.
Half Headstand
Benefits: Strengthens shoulders, arms and wrists, engages core muscles and improves balance.
How: Keep feet in as close to the elbows as possible. Slowly, taking them one at a time, lift each heel up to the buttocks, forming an egg shape. If you need to stay in the half-headstand pose, then do that until you feel comfortable enough to go into the full headstand pose. That may be today, tomorrow or in two weeks. There’s no rush.
Headstand
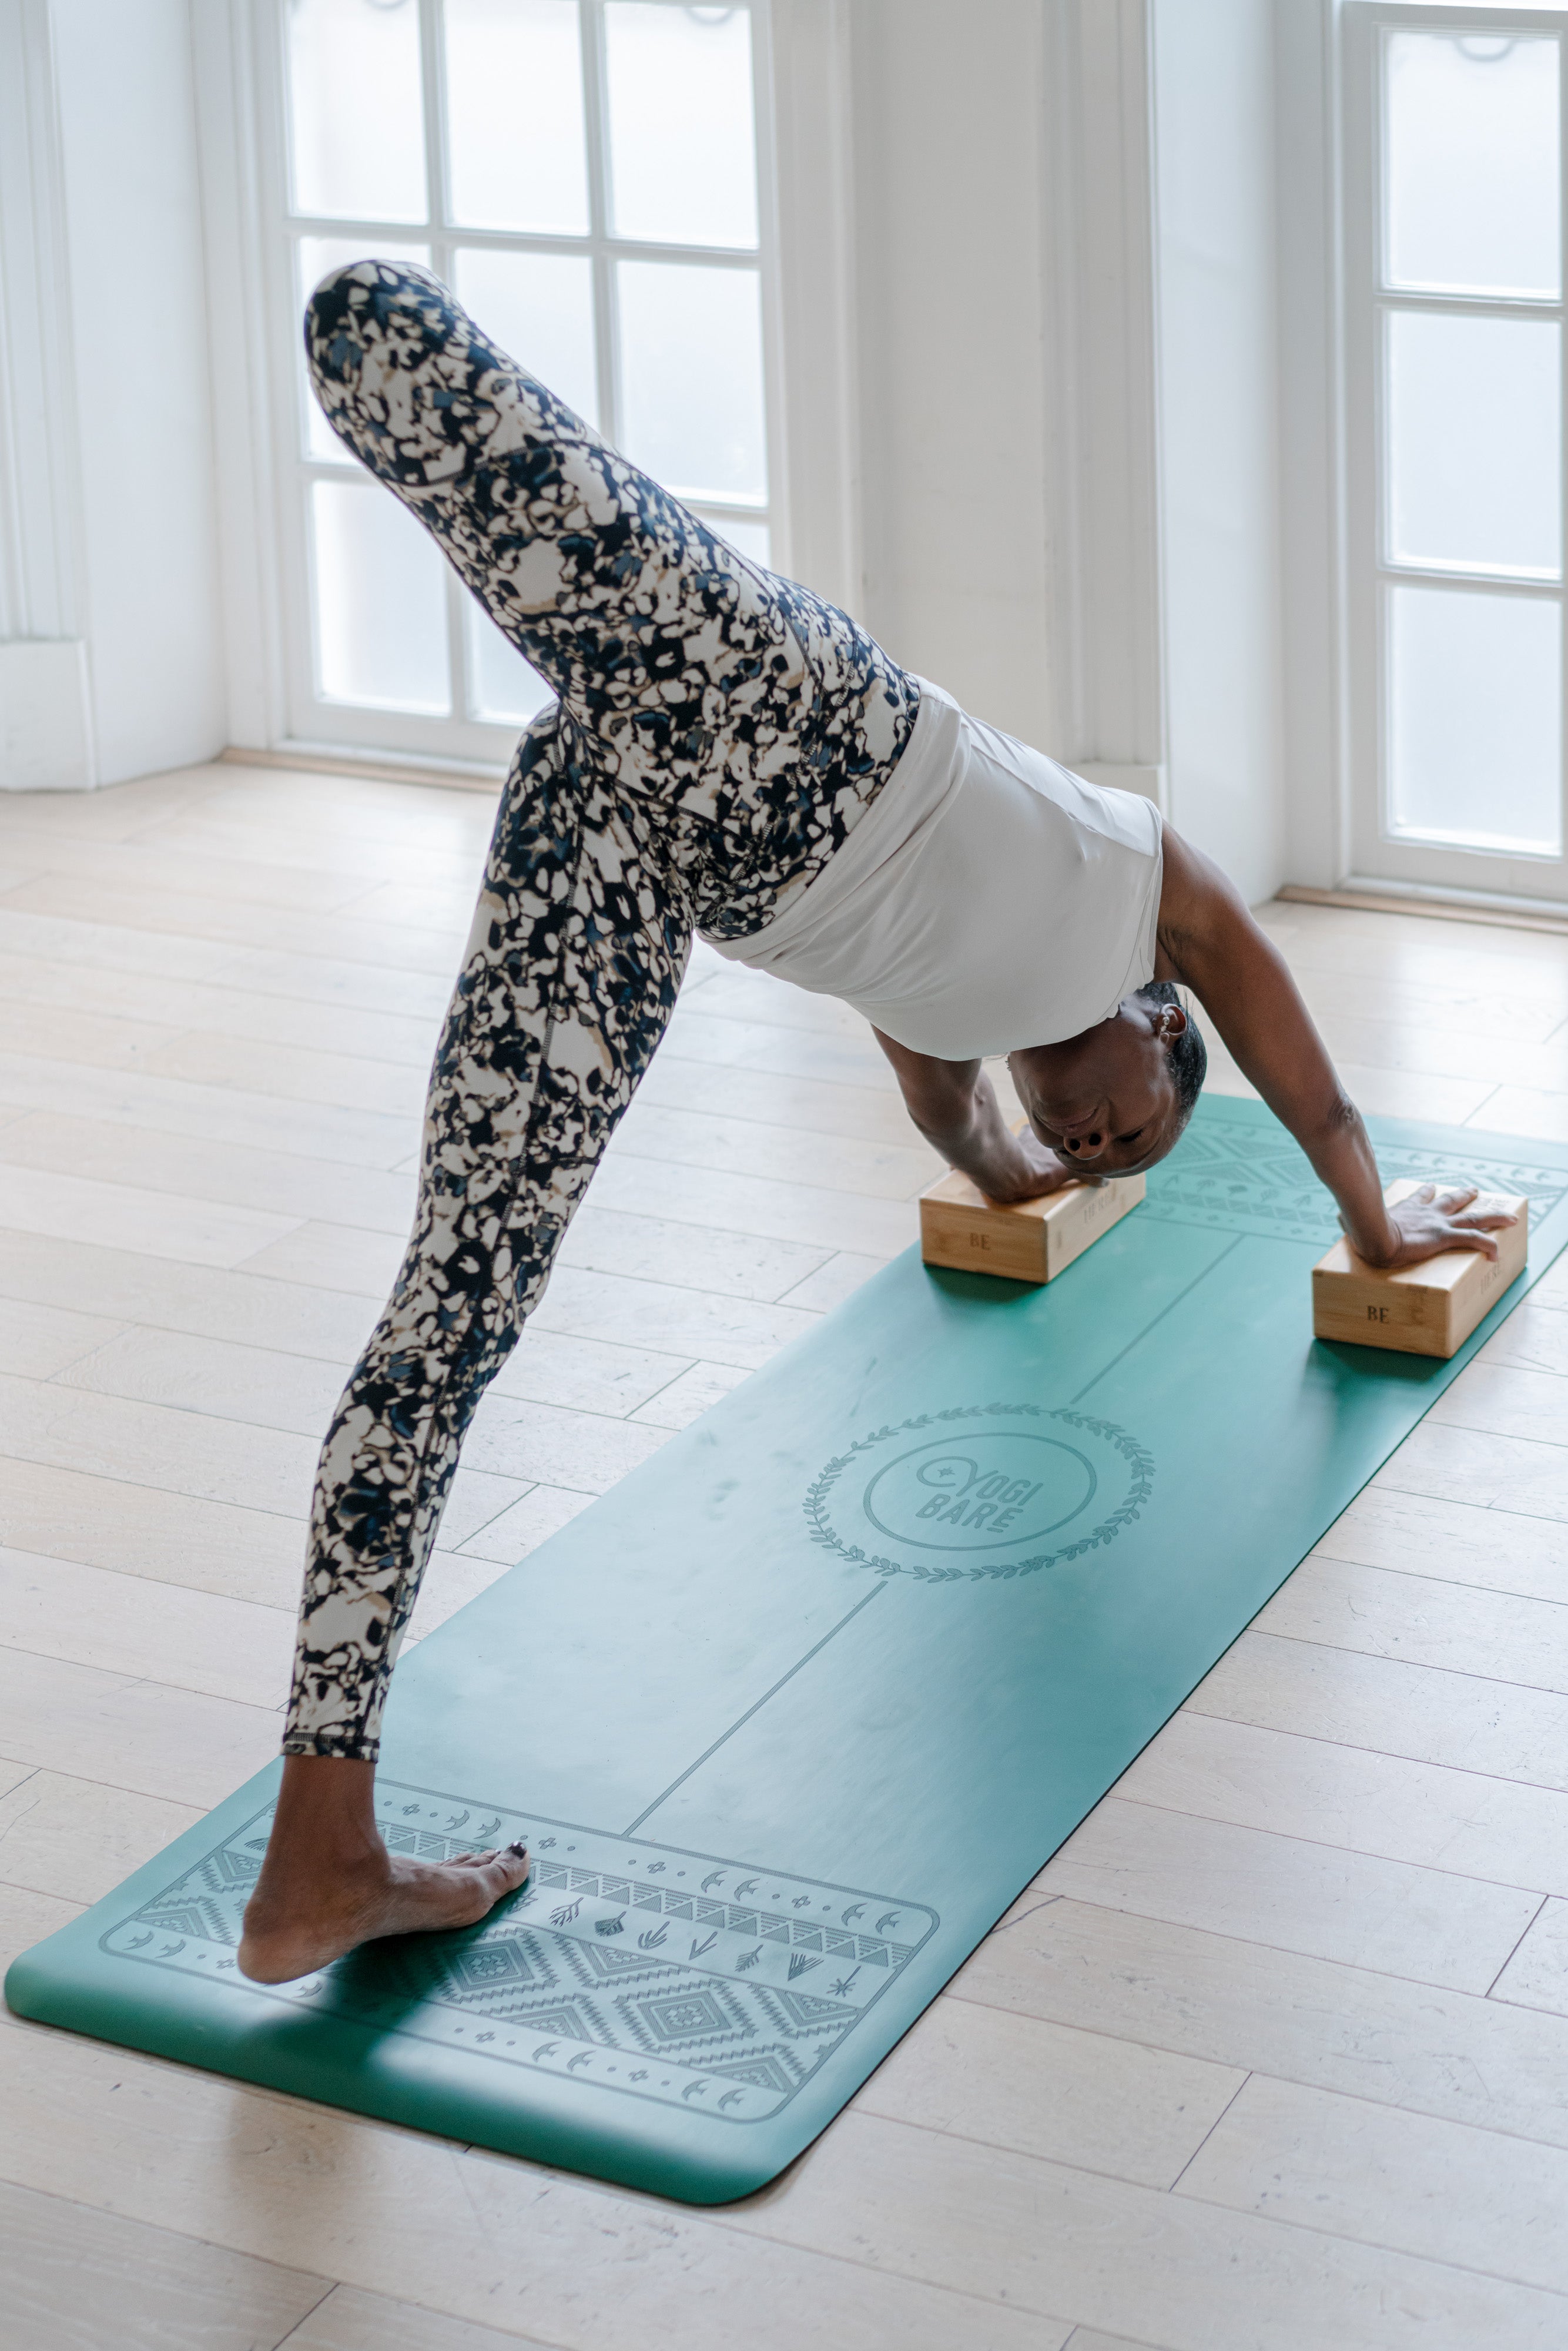
How: If you’re new to this pose, yoga blocks under the forearms can take pressure off the head. Using these daily whilst doing your Half Headstand can help you to gradually extend into the Full Headstand. Try our firm foam support block or bamboo support block for extra support.
Keep shoulders away from the head to protect the neck from being compressed too much. From half-headstand, begin by reaching feet straight up over shoulders and hips when you feel stable enough to do so. Lengthen your legs, flexing or pointing toes.
If it doesn’t feel good or you feel like you’re about to fall out of it, bring your legs down gently. Keep your head down as you come out of the pose and rest in Child’s Pose afterwards.
Leave a comment